A vet-smart routine that prevents infections without causing damage
Ear infections are one of the most common — and preventable — health problems in dogs. Yet many owners either overclean, clean incorrectly, or avoid ear care entirely out of fear.
The truth?
When done properly, ear cleaning at home is safe, simple, and incredibly effective at preventing painful infections.
This guide shows you exactly how to clean your dog’s ears — without stress, injury, or guesswork.
_____
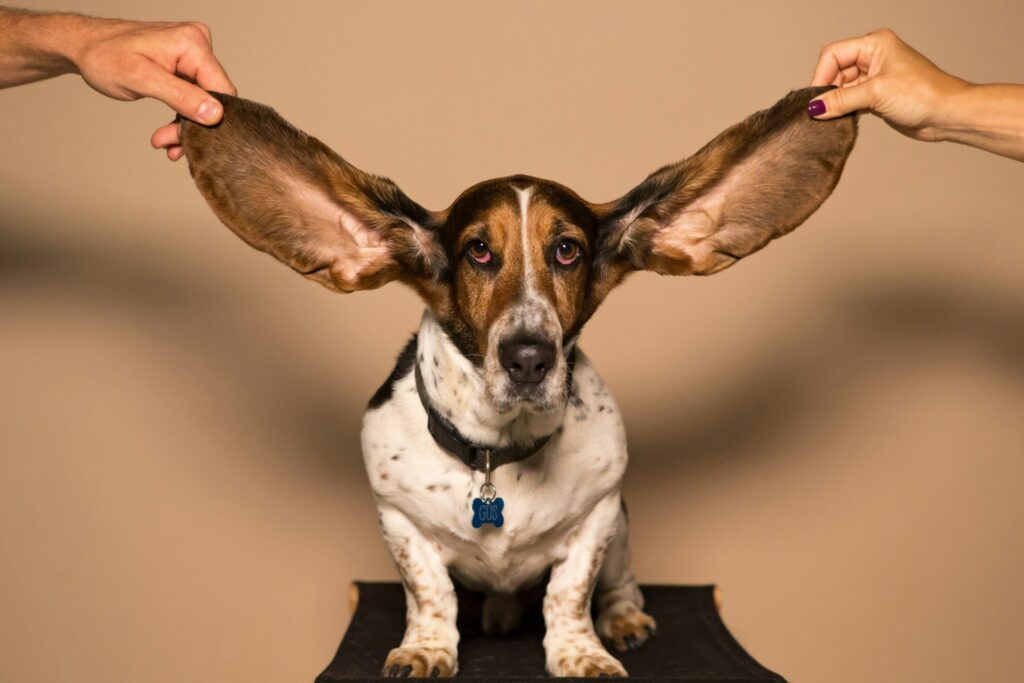
1. Do All Dogs Need Ear Cleaning?
Not necessarily.
Dogs who typically need routine ear cleaning include:
floppy-eared breeds
dogs who swim frequently
allergy-prone dogs
dogs with narrow ear canals
dogs with chronic yeast or wax buildup
Dogs with clean, odor-free ears may only need occasional checks, not regular cleaning.
2. Signs Your Dog’s Ears Need Cleaning
Clean ears should be:
pale pink
odor-free
dry
not itchy
Signs it’s time to clean:
head shaking
scratching ears
visible wax buildup
mild odor
redness without pain
⚠️ If you see discharge, swelling, pain, or strong odor — stop and consult a vet.
3. What You Should NEVER Put in a Dog’s Ears
This is where many owners go wrong.
🚫 Never use:
cotton swabs (Q-tips)
hydrogen peroxide
alcohol
vinegar solutions
essential oils
homemade mixtures
These can:
push debris deeper
irritate delicate tissue
worsen infections
4. What You’ll Need (Keep It Simple)
Safe ear cleaning requires just a few items:
vet-approved dog ear cleaner
cotton pads or gauze
towel
treats
Less is more.
5. Step-by-Step: How to Clean Your Dog’s Ears Safely
Step 1: Choose a calm environment
Pick a quiet space where your dog feels relaxed.
Step 2: Inspect before cleaning
Look and smell. If anything seems painful or abnormal — stop.
Step 3: Apply ear cleaner
Gently lift the ear flap and apply the recommended amount into the ear canal.
Step 4: Massage the base of the ear
Massage gently for 20–30 seconds.
You’ll hear a squishing sound — that’s normal.
Step 5: Let your dog shake
This helps loosen debris naturally.
Step 6: Wipe only what you can see
Use cotton pads or gauze to clean the outer ear and folds — never go deep.
Step 7: Reward generously
Positive associations make future cleanings easier.
6. How Often Should You Clean Your Dog’s Ears?
General guidelines:
low-risk dogs: once every 1–2 months
floppy-eared or allergy-prone dogs: every 1–2 weeks
swimmers: after water exposure
Overcleaning can irritate the ear canal and cause problems.
7. Common Ear Cleaning Mistakes
Avoid:
cleaning too frequently
scrubbing aggressively
using dry cotton alone
ignoring early symptoms
cleaning during active infection
Ear care is preventative — not reactive.
8. When Ear Cleaning Isn’t Enough
Seek veterinary care if you notice:
thick discharge
foul odor
head tilt
balance issues
pain when touched
recurring infections
These may signal:
yeast infections
bacterial infections
ear mites
allergies
foreign objects
9. Making Ear Cleaning Stress-Free
To reduce anxiety:
clean after exercise
keep sessions short
use calm handling
stop if your dog resists strongly
practice touch without cleaning
Trust matters more than technique.
Final Thought
Ear cleaning shouldn’t be scary — for you or your dog.
With the right tools, gentle handling, and a calm routine, you can protect your dog from infections and discomfort while strengthening trust.
Healthy ears mean a happier dog — and fewer vet visits down the road.